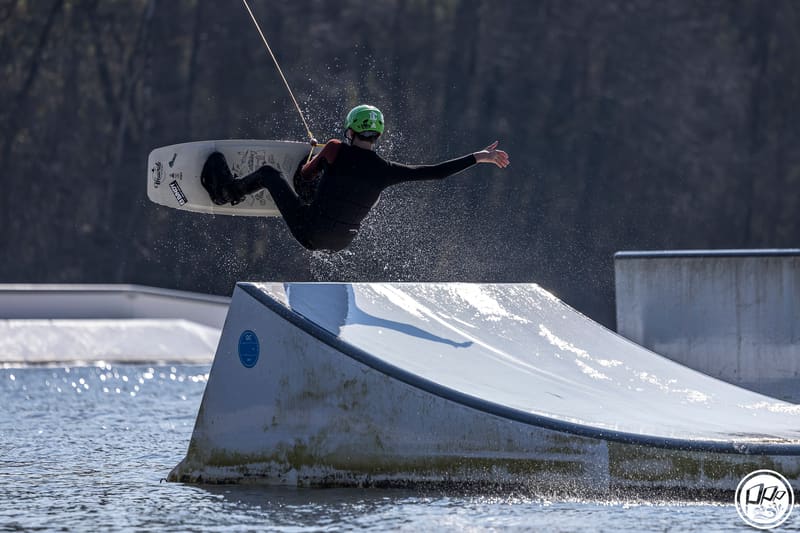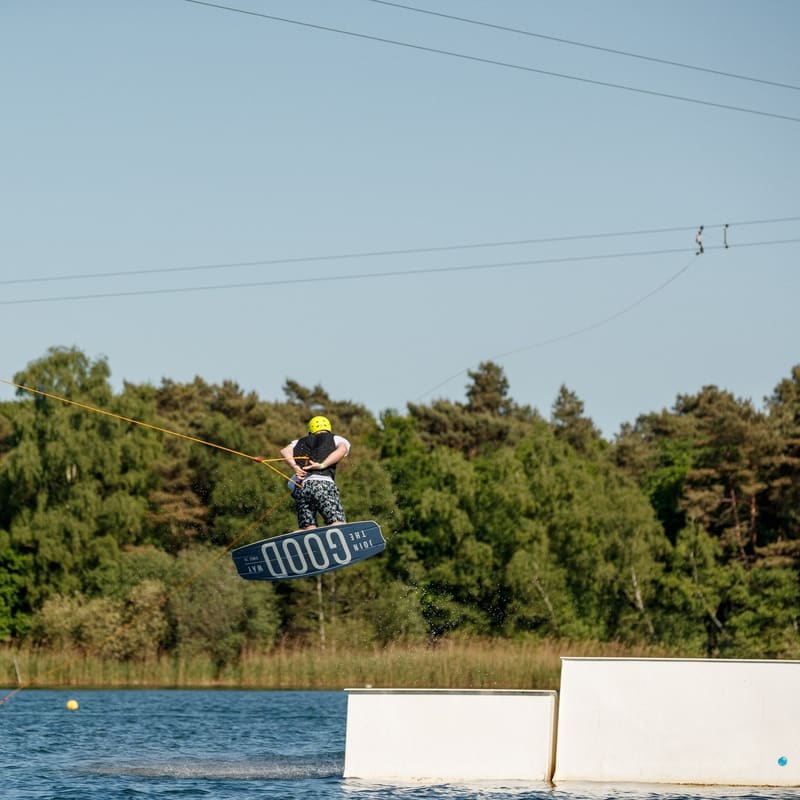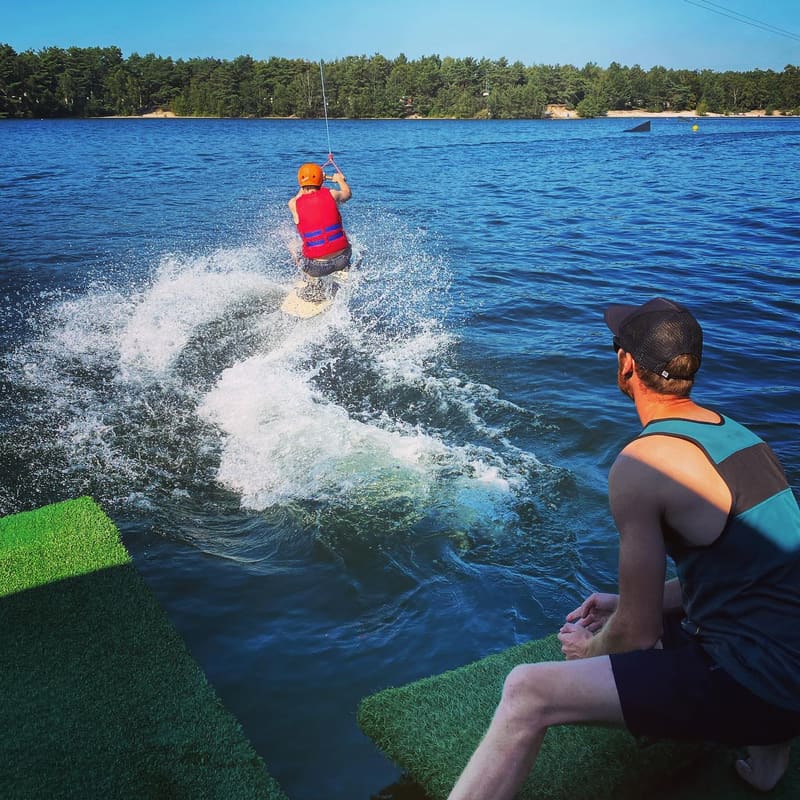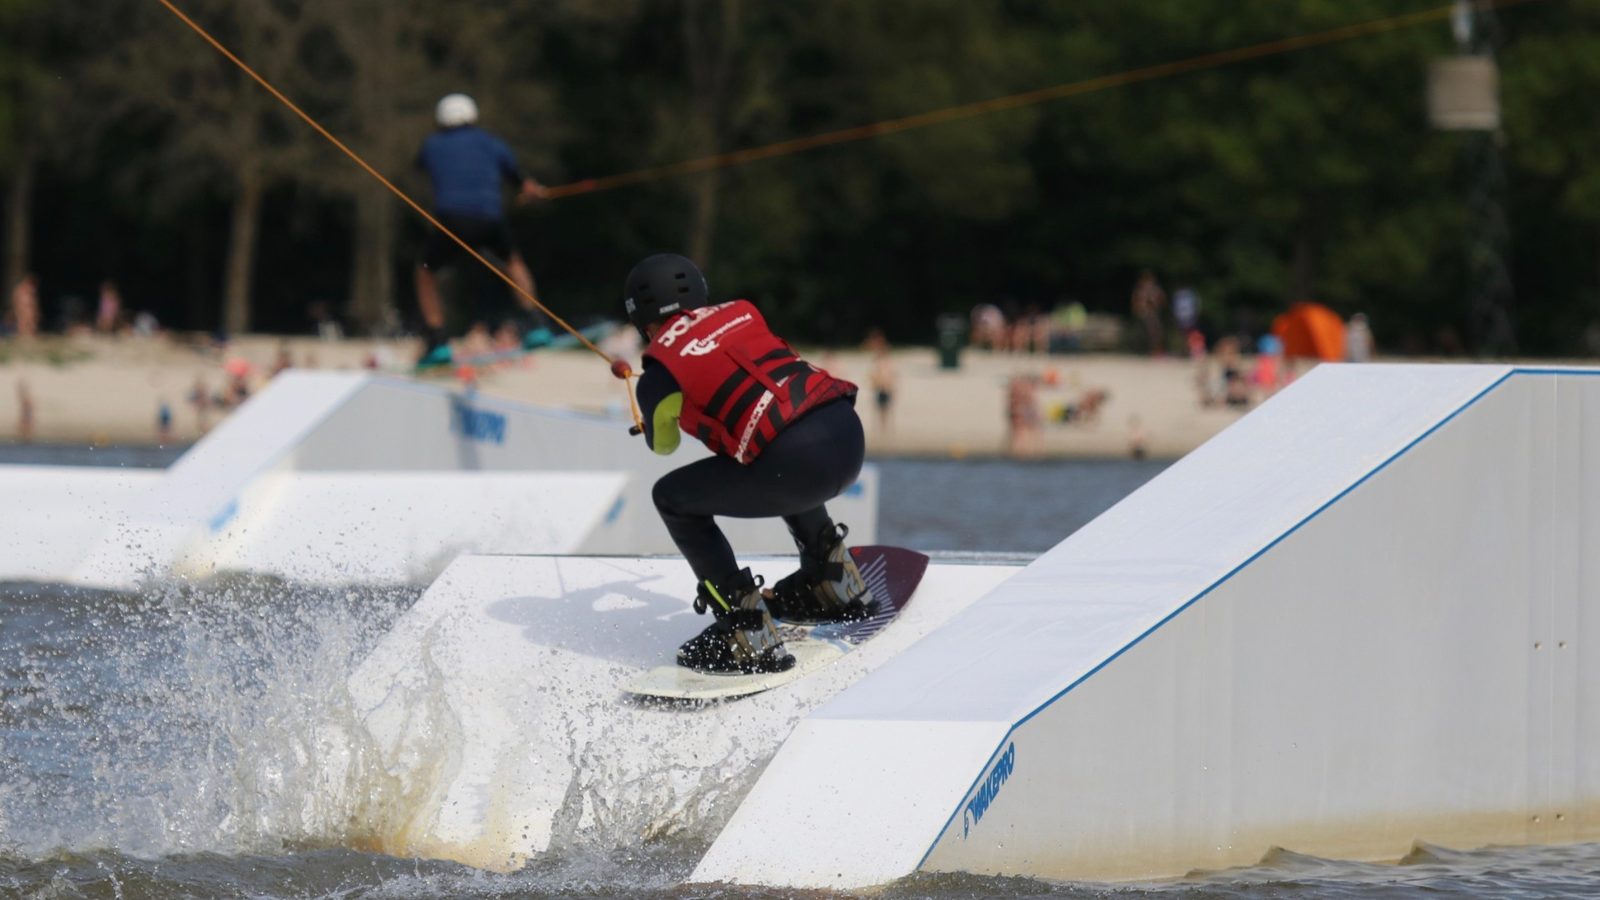
Getting up on a wakeboard is a great feeling.
Completing your first full lap is even better.
But once you can make it around the cable without falling, a new question usually appears:
What should I learn next?
Cable wakeboarding does not have one official progression route. Every rider learns differently, every cable park has different features, and some people feel more comfortable spinning than hitting obstacles.
Still, there is a logical order that can make progression easier, safer, and a lot less frustrating.
The basic idea is simple:
Learn control before tricks, learn tricks on the water before taking them to features, and develop both your regular and switch riding instead of relying on one comfortable stance.
This guide takes you from your first successful start to kickers, boxes, presses, and basic spins.
The Cable Wakeboarding Progression Roadmap
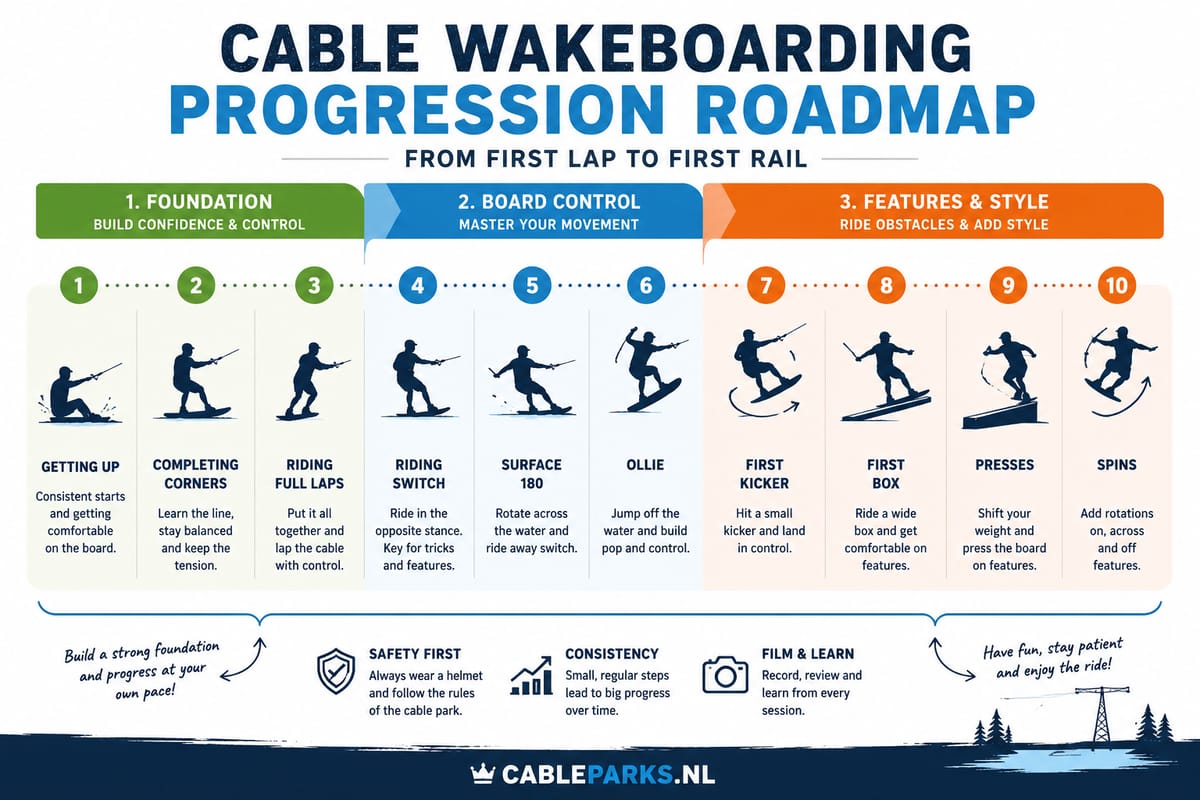
A useful progression for most riders looks something like this:
- Getting up and riding with control
- Completing corners
- Finishing full laps
- Riding switch
- Surface 180s
- Ollies and ollie 180s
- Your first kicker
- Your first box and boardslide
- Presses
- Spins on, across, and off features
You do not have to complete every stage perfectly before touching the next one.
Progression is rarely that tidy.
You might hit a small kicker before your switch riding feels completely natural. You might learn a surface 180 before you can complete every corner cleanly.
That is fine.
The roadmap is there to show which skills support the next step, not to turn your wakeboarding session into an exam.
Stage 1: Getting Up and Riding With Control
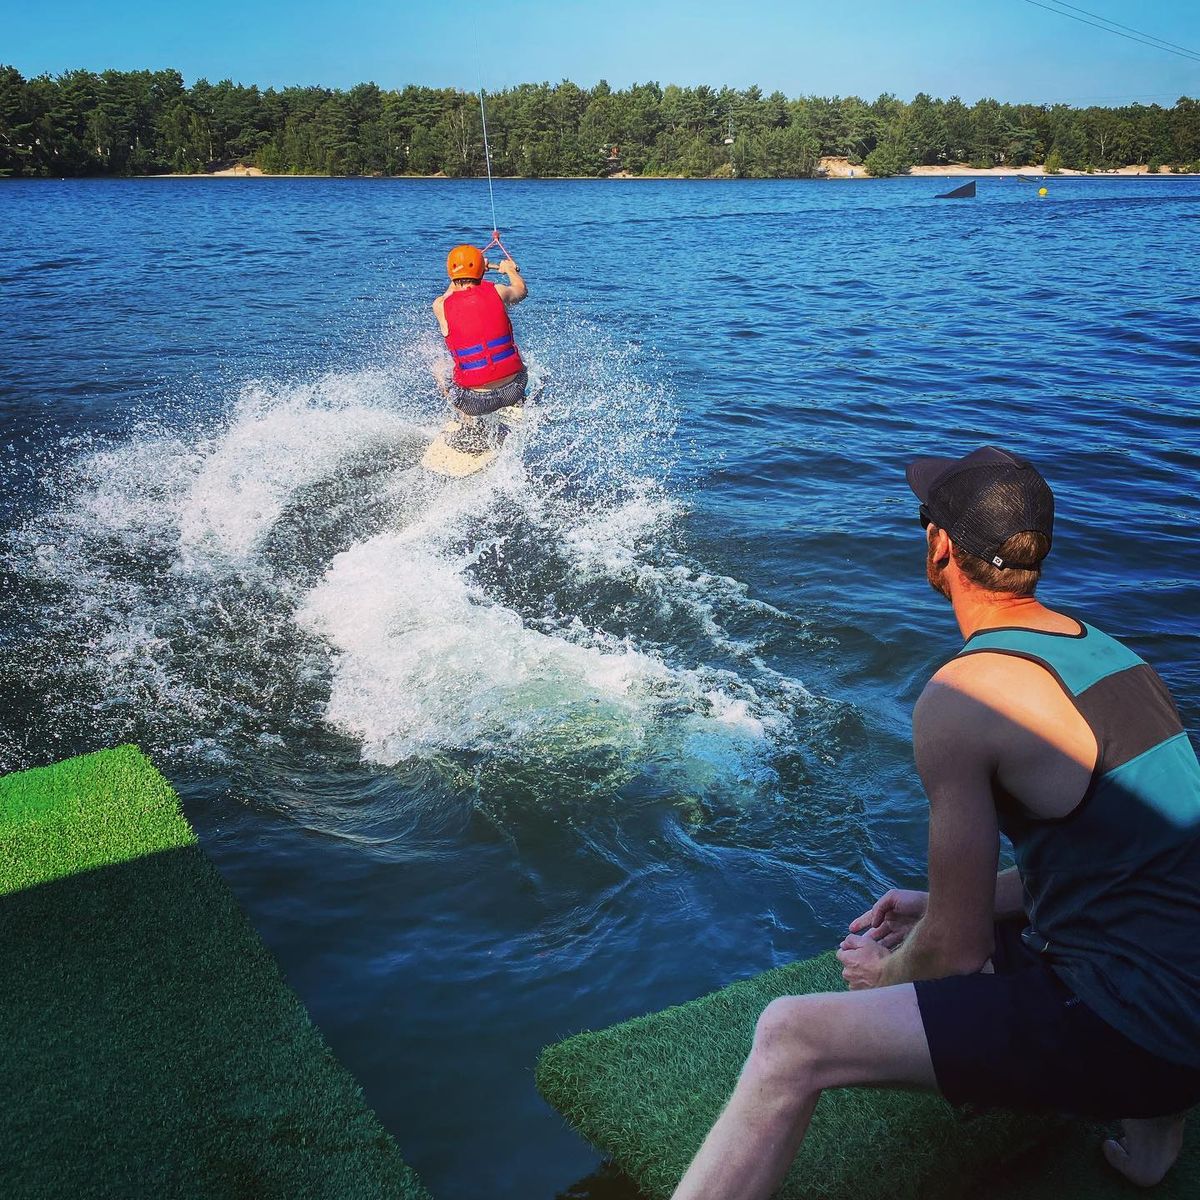
Before worrying about tricks, the first goal is simply to leave the dock.
A good cable start is usually more about patience than strength.
Let the cable pull you forward, keep your knees bent, and avoid trying to stand up too early.
Many beginners make the same mistake: they fight the cable.
They pull hard on the handle, straighten their legs, and try to force themselves onto the board. This normally creates more tension and makes the start harder.
Instead, stay compact and allow the board to move underneath you.
You Are Ready to Start Riding When:
- You can get up on most attempts
- You are no longer panicking when the cable takes the handle
- You can settle into your riding position shortly after leaving the dock
- You can look ahead instead of staring at your board
Do not worry if your first starts are not stylish.
Nobody is judging your dock-start technique while you are learning.
Getting away from the dock is already a win.
Once you are up, spend time becoming comfortable on the board.
Practise moving gently from heelside to toeside. Feel how the board reacts when you put pressure through your heels, toes, front foot, and back foot.
You should be able to move across the cable lane without making sudden or aggressive movements.
This might not look exciting from the shore, but it is one of the most important parts of your progression.
Board control helps with everything that comes later:
- Approaching corners
- Riding switch
- Lining up for obstacles
- Controlling your speed
- Correcting imperfect landings
- Avoiding other riders
Try riding in different positions rather than staying frozen in one stance for the entire lap.
Move around, bend your knees, stand slightly taller, and experiment with the handle position.
The more comfortable you become on the water, the less intimidating your first corners and tricks will feel.
Stage 2: Completing the Corners
Corners are often the real beginner challenge on a full-size cable.
You may have mastered the start and feel comfortable on the straight sections, only to lose tension or get pulled off balance as soon as you reach the first tower.
The important thing is to prepare early.
Look towards the next section of cable, keep your knees soft, and follow the route recommended by the park staff.
Different cables have different tower layouts, carrier timings, and recommended corner lines, so always listen to the local operator.
Avoid making a last-second cut directly underneath the cable.
A smooth line is normally much easier than an aggressive one.
Common Corner Mistakes
Looking at the tower
Your board tends to follow your eyes and shoulders. Look towards where you want to ride, not at the object you want to avoid.
Standing too stiff
Bent knees help absorb changes in line tension. Straight legs make every pull from the cable feel stronger.
Cutting too hard
Beginners sometimes build too much speed before the corner. Focus on a controlled approach rather than trying to charge through it.
Giving up when the line goes soft
A brief loss of tension does not always mean the lap is over.
Stay balanced, keep the board moving, and wait for the cable to pull again.
Completing your first corner feels good.
Completing every corner and returning to the dock feels like you have finally unlocked the park.
Stage 3: Completing Full Laps
Your first full lap is the point where cable wakeboarding starts becoming less about survival and more about riding.
At first, aim for consistency rather than distance.
One controlled lap is more useful than three exhausting laps where every corner is a last-second rescue.
Try to ride with relaxed arms and let your legs do more of the work.
Holding the handle with a death grip will tire your forearms surprisingly quickly.
This is also the right time to improve your awareness.
Pay attention to:
- Fallen riders
- Loose handles
- Entry and exit points
- Faster riders approaching from behind
- Park-specific obstacle rules
- Instructions from cable operators
Before beginning tricks, you should be able to complete laps while still noticing what is happening around you.
That awareness becomes especially important once you start changing direction, riding switch, and approaching features.
Stage 4: Learning to Ride Switch
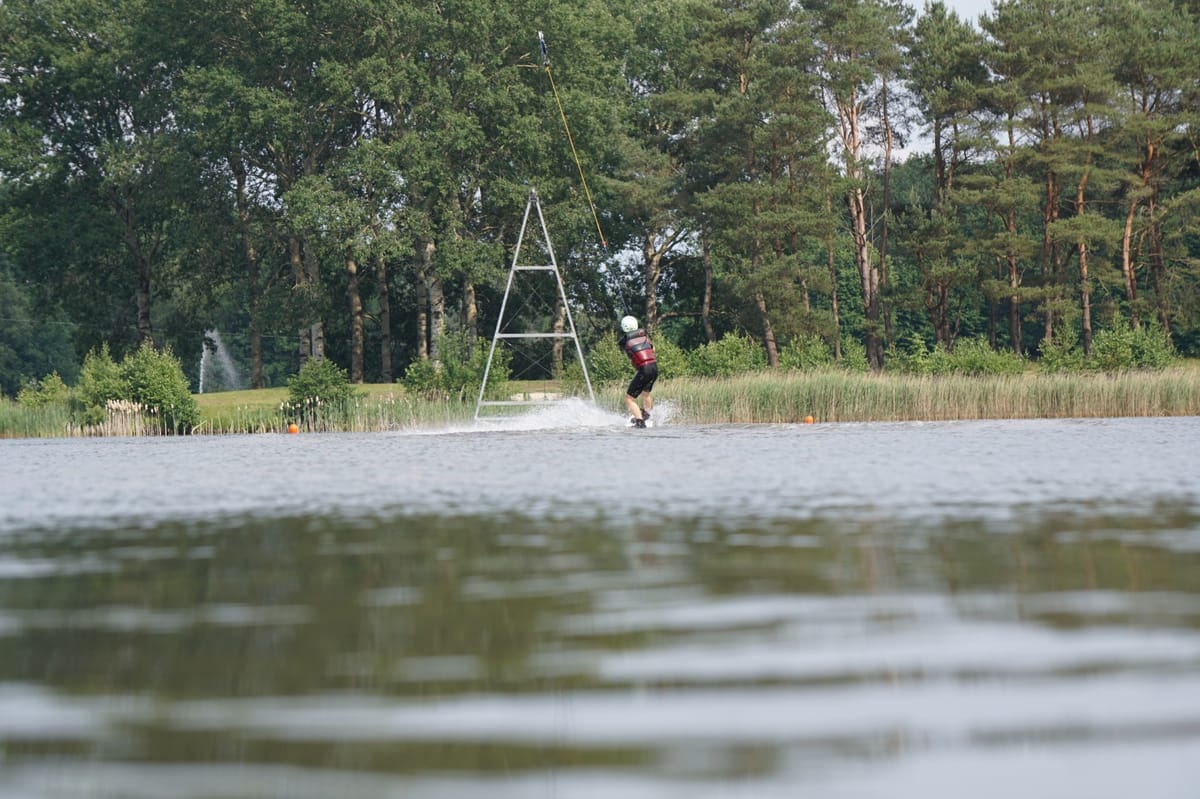
Switch means riding with your less-natural foot forward.
For many riders, it feels like learning to wakeboard all over again.
Your balance feels strange, corners become difficult, and suddenly you have no idea what to do with the handle.
That is completely normal.
Switch riding is still worth learning early because it opens the door to almost every future area of progression.
It helps you:
- Land 180s
- Approach features from different directions
- Ride away from imperfect landings
- Learn spins in both directions
- Build more balanced board control
- Avoid developing one extremely strong side and one unusable side
Start by riding switch for short sections on the straight.
Do not immediately try to complete a full switch lap.
Change stance, ride for a few seconds, and return to your regular position before the next corner.
Gradually extend those sections until switch starts to feel less like an emergency.
A Useful Switch Challenge
Try to complete part of every session in switch.
It can be one straight, half a lap, or a full lap depending on your level.
The important thing is to practise it regularly instead of saving it for another day.
Switch riding does not become comfortable by thinking about it on the dock.
Stage 5: Surface Slides and the Surface 180
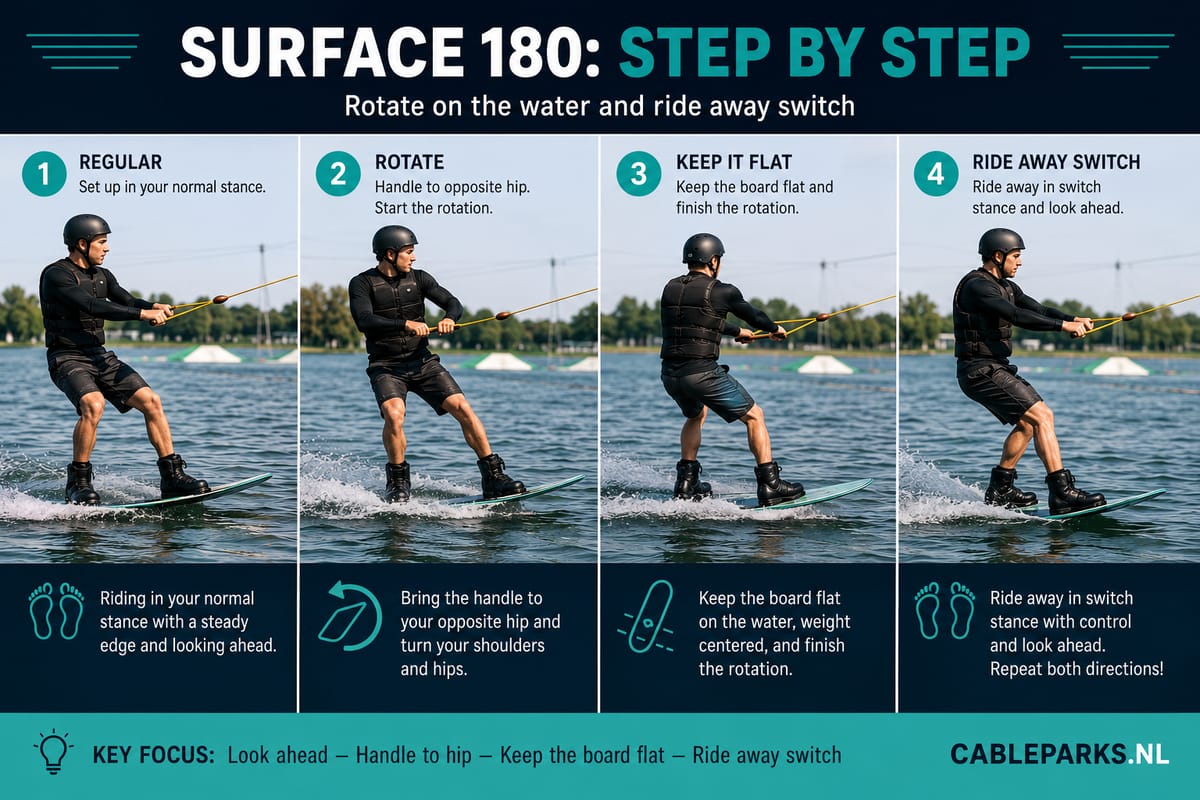
The surface 180 is often the first proper wakeboard trick riders learn.
Instead of jumping, you rotate the board across the surface of the water until your opposite foot is forward.
Before trying the full rotation, practise loosening the board with small surface slides.
Move the handle towards your other hip, rotate your hips and shoulders, and let the board follow.
Keep your weight centred and lift the edge that is moving forward slightly away from the water.
Catching an edge is the classic surface-180 mistake.
It normally happens when the rider leans too far forward or allows the leading edge to dig into the water.
Take it slowly.
The goal is not to whip the board around as fast as possible.
It is to control the rotation and finish in a balanced switch position.
A controlled surface 180 teaches several important skills:
- Handle positioning
- Hip rotation
- Edge awareness
- Switching stance
- Riding away in the opposite position
These skills later transfer to ollie 180s, kicker spins, and obstacle tricks.
Once your first direction works, start practising the opposite direction as well.
One side will probably feel easier, but learning both prevents your riding from becoming too one-sided.
Stage 6: Learning Ollies and Ollie 180s
An ollie is a jump created from the board and the water rather than from a kicker.
It might look small compared with a huge kicker hit, but the ollie is one of the most useful foundations in wakeboarding.
It later helps you jump onto features, clear small gaps, and add spins away from obstacles.
Begin with small ollies on a quiet straight section.
Compress by bending your knees, apply pressure through the board, and then extend upwards while bringing your knees towards your body.
Think about creating the pop first and lifting the board second.
Trying to pull the board into the air using only your legs usually produces an awkward little hop.
Timing matters more than force.
Focus on Three Things
Keep the handle close
A handle drifting away from your body can pull you forwards and make the landing unstable.
Lift both knees
Do not leave your back leg hanging straight underneath you.
Land softly
Bend your knees and ride away rather than trying to land with completely straight legs.
Your first ollie may only leave the water by a few centimetres.
That is enough.
Once the movement feels natural, work on making it cleaner before trying to make it much higher.
Adding an Ollie 180
The ollie 180 connects your surface-spin skills with your ollie.
It is an important step because it teaches you to take off in one stance and land in the other.
Start with the direction that feels most natural.
For many riders, a half cab, taking off switch and landing in their regular stance, feels easier because the landing position is familiar.
Approach with a flat, controlled board.
Perform a small ollie, move the handle towards the opposite hip, and rotate your head, shoulders, and hips together.
Avoid throwing the rotation before leaving the water.
When you begin turning too early, the edge of the board can catch and stop the trick before it starts.
You do not need a huge ollie.
A small, controlled jump with a complete rotation is better than going high and landing twisted.
Once you can land a few variations of the ollie 180, your board control will feel noticeably more complete.
Stage 7: Hitting Your First Kicker
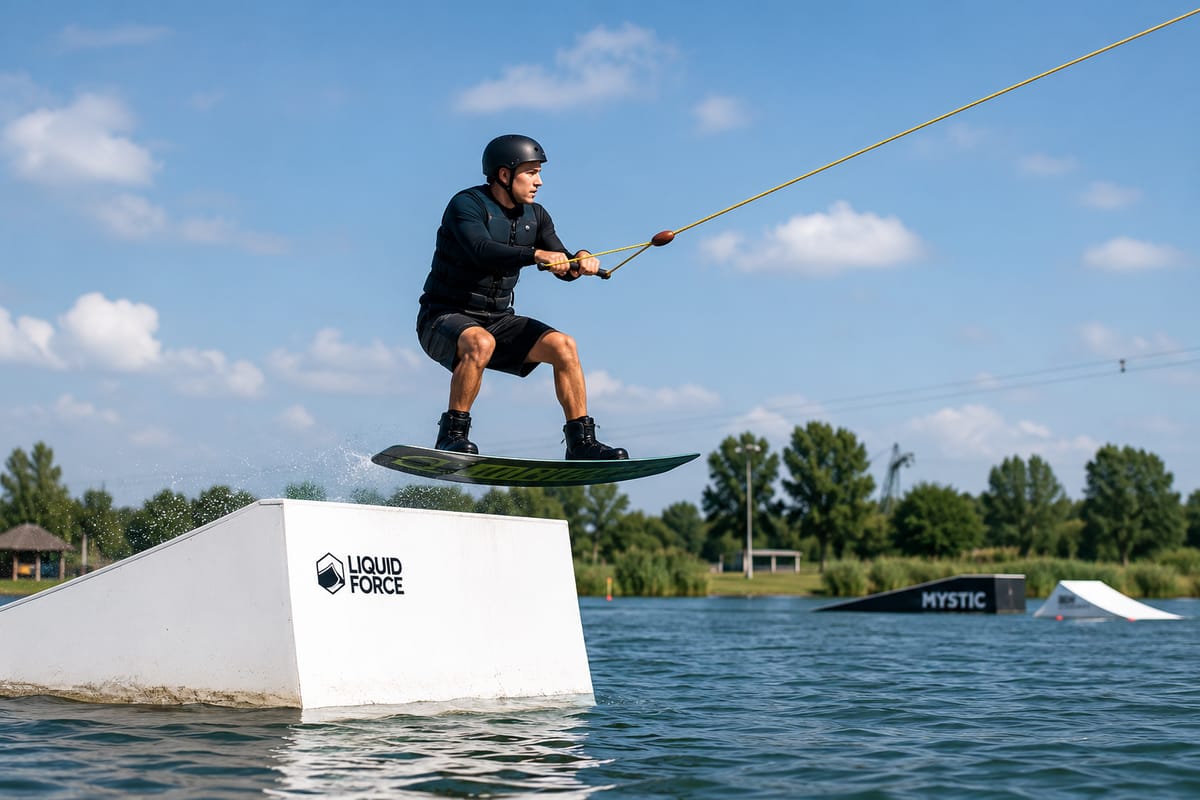
Kickers look intimidating because they create more height and speed than anything you have tried on the flat.
The good news is that your first kicker hit does not require a trick.
Your first goal is simply to ride up, leave the top, and land in control.
Choose the smallest beginner-friendly kicker available and speak to the cable operator before using it.
Parks may have their own entry requirements, directions, and rules.
Your First Kicker Approach
Approach on a gentle, controlled edge.
You need enough direction to reach the kicker cleanly, but you do not need to charge at it as hard as possible.
Line up early so you are not making a large correction immediately before the feature.
As you travel up the kicker:
- Keep both hands on the handle
- Keep the handle close to your hips
- Maintain a stable body position
- Look towards the landing
- Allow the shape of the kicker to send you upwards
- Bend your knees when you land
A common beginner mistake is jumping too aggressively at the bottom of the kicker.
This can throw you off balance before you have even reached the top.
Let the kicker do most of the work.
Once straight hits feel comfortable, you can add a simple grab, try the kicker switch, or work towards a frontside 180.
There is no rush to spin immediately.
A clean straight air is still a proper trick, and it usually feels better than a rushed 180 with a sketchy landing.
Stage 8: Riding Your First Box and Boardslide
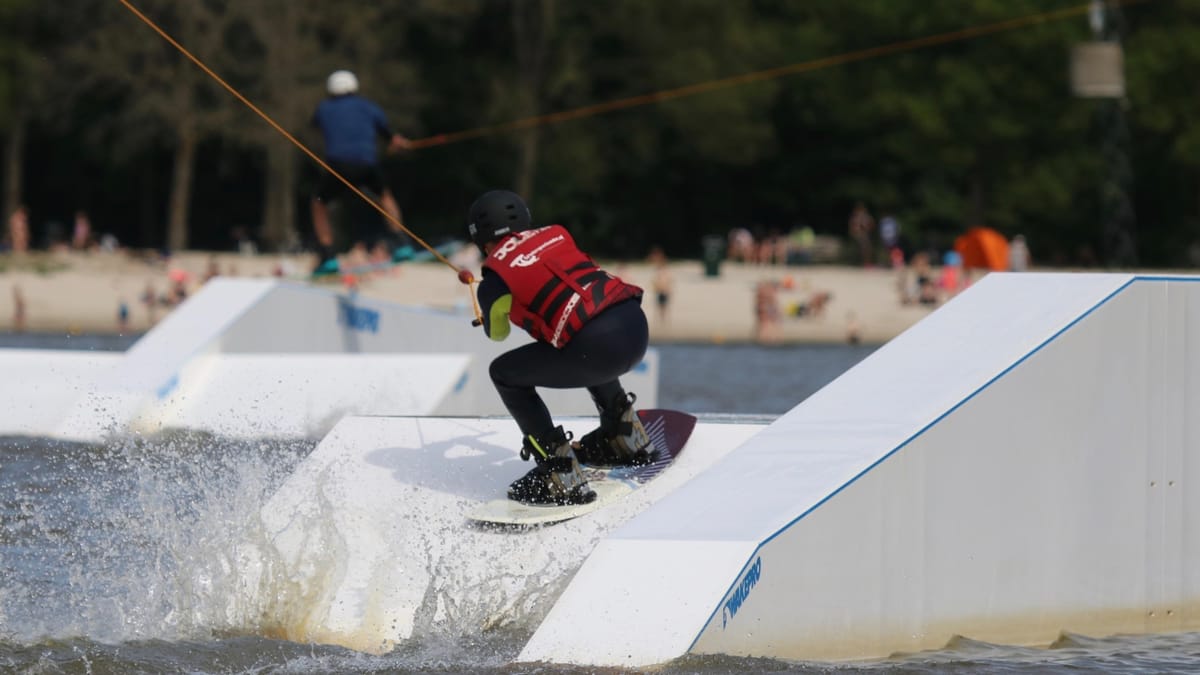
A wide, flat box is normally the most approachable rail feature.
Before hitting one, make sure your board is suitable for obstacles and follow the rules of the park.
Rental beginner boards may have fins that are not designed to slide across features, while cable-specific boards normally use reinforced bases and shapes intended for park riding.
Ask the operator when you are unsure.
For your first attempt, choose a box with a ride-on entrance rather than one you must ollie onto.
Line up early and approach with enough speed to reach the end.
Keep your board pointing along the feature, your knees bent, and your weight centred.
Avoid leaning backwards just because the surface feels slippery.
An exaggerated lean can send the board forwards while your upper body stays behind.
Think about standing calmly over the board.
Your First Feature Goal
Forget presses, spins, and stylish hand positions.
Simply ride onto the box, travel across it in a straight 50/50 position, and ride away.
That first clean crossing is the obstacle equivalent of completing your first lap.
Once you know what the surface feels like, the feature becomes much less mysterious.
Moving From 50/50 to a Boardslide
After you can ride straight across a box, start experimenting with changing the board position.
The next step is often a simple boardslide, where the board rotates across the feature while your upper body remains controlled.
Your surface-180 practice becomes very useful here.
Start the rotation gently, keep the handle close, and try to stay centred over the feature.
Do not lean aggressively onto one edge.
Most boxes and rails are designed to be ridden with the board relatively flat.
Begin on a wide box with plenty of room for small mistakes.
As you become comfortable, practise:
- Rotating into the slide
- Returning to 50/50 before the exit
- Sliding in both directions
- Riding away switch
- Turning out with a small 180
This is where obstacle riding starts to feel creative rather than simply scary.
Stage 9: Learning Your First Press
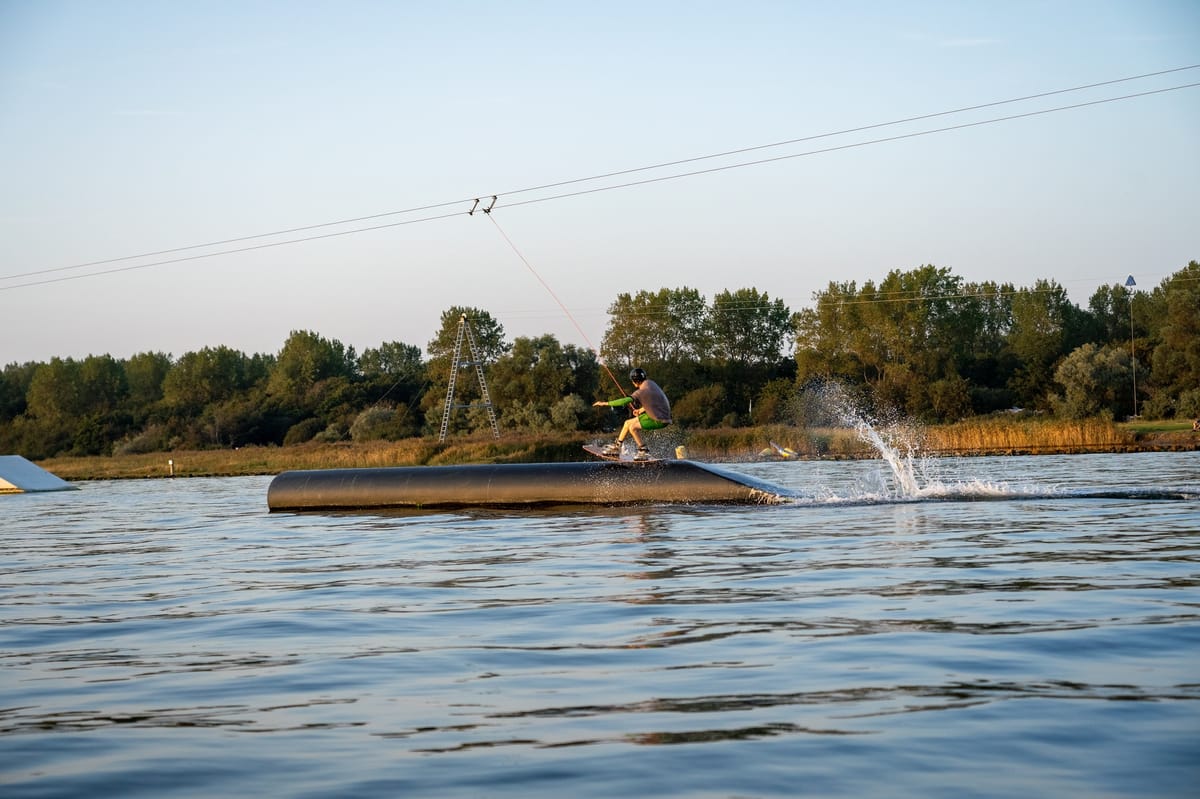
A press is when you shift your weight towards one end of the board and flex the opposite end away from the feature.
In a tail press, you place more pressure over the tail and lift the nose.
In a nose press, you move forwards and lift the tail.
Presses look simple, but a good one requires balance, confidence, and board awareness.
Start small.
You do not need to fold the board in half on your first attempt.
Move your weight gradually and hold the position for a short moment before returning to a centred stance.
A Good Press Progression
- Ride across the feature in a stable 50/50
- Move slightly towards the nose or tail
- Hold the position briefly
- Return to the centre before the exit
- Gradually increase the press as your balance improves
- Add the press earlier and hold it for longer
- Combine it with a boardslide or spin
Do not confuse leaning backwards with a tail press.
A proper press comes from moving your weight over the correct part of the board while keeping your body balanced.
Simply throwing your shoulders behind the board usually ends with the board escaping in front of you.
Board flex can help, but technique matters more than buying the softest board you can find.
Stage 10: Adding Spins
Once you are comfortable on kickers and basic boxes, spins become the natural next step.
Start with 180s because you already understand the rotation from surface and ollie practice.
You can work on:
- Frontside 180s from a kicker
- Half-cab 180s
- 180s off a box
- 180s onto a wide feature
- Rotating from 50/50 into a boardslide
- Spinning out of a press
- Riding switch into features
After your 180s feel controlled, begin learning 360s.
A 360 introduces the handle pass, which changes the trick significantly.
Practise the handle movement on land first so you understand where it needs to travel.
Keep the handle close to your body throughout the rotation.
When it moves too far away, the cable pulls you off-axis and makes completing the spin much harder.
Do not rush towards larger rotations just because you have landed one 360.
Being able to spin both directions, take off switch, and land with control will improve your riding more than repeating one comfortable trick every lap.
Do You Need to Follow This Order Exactly?
No.
Some riders love kickers and avoid rails.
Others would happily spend an entire session pressing the same box without ever leaving the water.
Your progression should match the type of riding you enjoy.
However, skipping too many foundations usually catches up with you.
A rider who cannot ride switch may struggle to land 180s.
A rider with no ollie control will find ollie-on features difficult.
A rider who cannot approach a basic box consistently is unlikely to feel comfortable adding spins or presses.
The foundations are not there to slow you down.
They are what allow you to progress without every new trick feeling like a complete gamble.
How to Progress Faster Without Ruining the Fun
More attempts do not automatically mean better practice.
A little structure can make a session much more productive.
Pick One Main Goal
Choose one skill to focus on during the session.
That might be completing switch corners, landing an ollie 180, or crossing a box three times in a row.
You can still enjoy the rest of the park, but having one goal prevents you from randomly trying ten different tricks without improving any of them.
Repeat Successful Attempts
When you land a trick for the first time, do it again.
The first landing proves the trick is possible.
Repeating it is what turns it into part of your riding.
Film a Few Attempts
Video quickly reveals problems that are difficult to feel on the water.
You may think you are bending your knees deeply, only to discover that you barely moved.
You may also notice that your approach changes on every attempt.
You do not need to film the entire session.
A few clips are normally enough.
Ask the Operator or Another Experienced Rider
A small correction can save dozens of attempts.
Cable operators watch riders all day and often recognise common mistakes immediately.
Local riders can also explain the best line for a specific corner, kicker, or box.
Know When to Stop
When you become tired, your timing and awareness usually get worse.
That is not always the best moment to try something bigger.
End the session with a few tricks you already know, rather than taking increasingly desperate attempts because you want to land something before going home.
Safety Before Features
Kickers and rails are part of what makes cable wakeboarding so much fun, but they also add consequences.
Wear the protective equipment required by the park.
A suitable helmet is especially important when using features.
Also remember:
- Follow the cable operator's instructions
- Check that the feature is clear before approaching
- Do not hit obstacles outside the permitted direction
- Use a board that the park allows on features
- Let go when an unsafe approach cannot be corrected
- Avoid riding too close to someone in the water
- Learn on beginner-friendly features before moving to larger ones
Every park is different.
Local rules always come before advice from an article, video, or friend.
What Should You Learn Next?
When you are unsure, look at the skill directly underneath the trick you want.
Want to land a kicker 180?
Work on switch riding and ollie 180s.
Want to press a rail?
Build a consistent 50/50 and learn to move your weight around on a wide box.
Want to spin off features?
Practise surface spins, ollie rotations, and riding away switch.
Want to hit larger obstacles?
Improve your approaches and become completely comfortable on the smaller versions first.
Progression becomes much easier when you stop thinking of tricks as isolated movements.
Every trick is built from skills you can practise somewhere safer and simpler.
Final Thoughts
Cable wakeboarding progression is not a race from your first start to the biggest rail in the park.
The best riders are not only the ones doing the hardest tricks.
They are the ones who make difficult riding look controlled, and that control comes from spending time on the basics.
Get comfortable on the board.
Learn the corners.
Ride switch before you feel ready.
Practise your surface 180s and ollies.
Hit the small kicker until it no longer feels big.
Cross the beginner box until you can relax on it.
Then start adding presses, slides, and spins.
Some sessions will bring a new trick.
Others will involve falling on something you landed easily the week before.
That is normal.
Keep taking laps, enjoy the small wins, and let each new skill make the next one easier.
Browse our complete directory of cable parks and find a park for your next progression session.